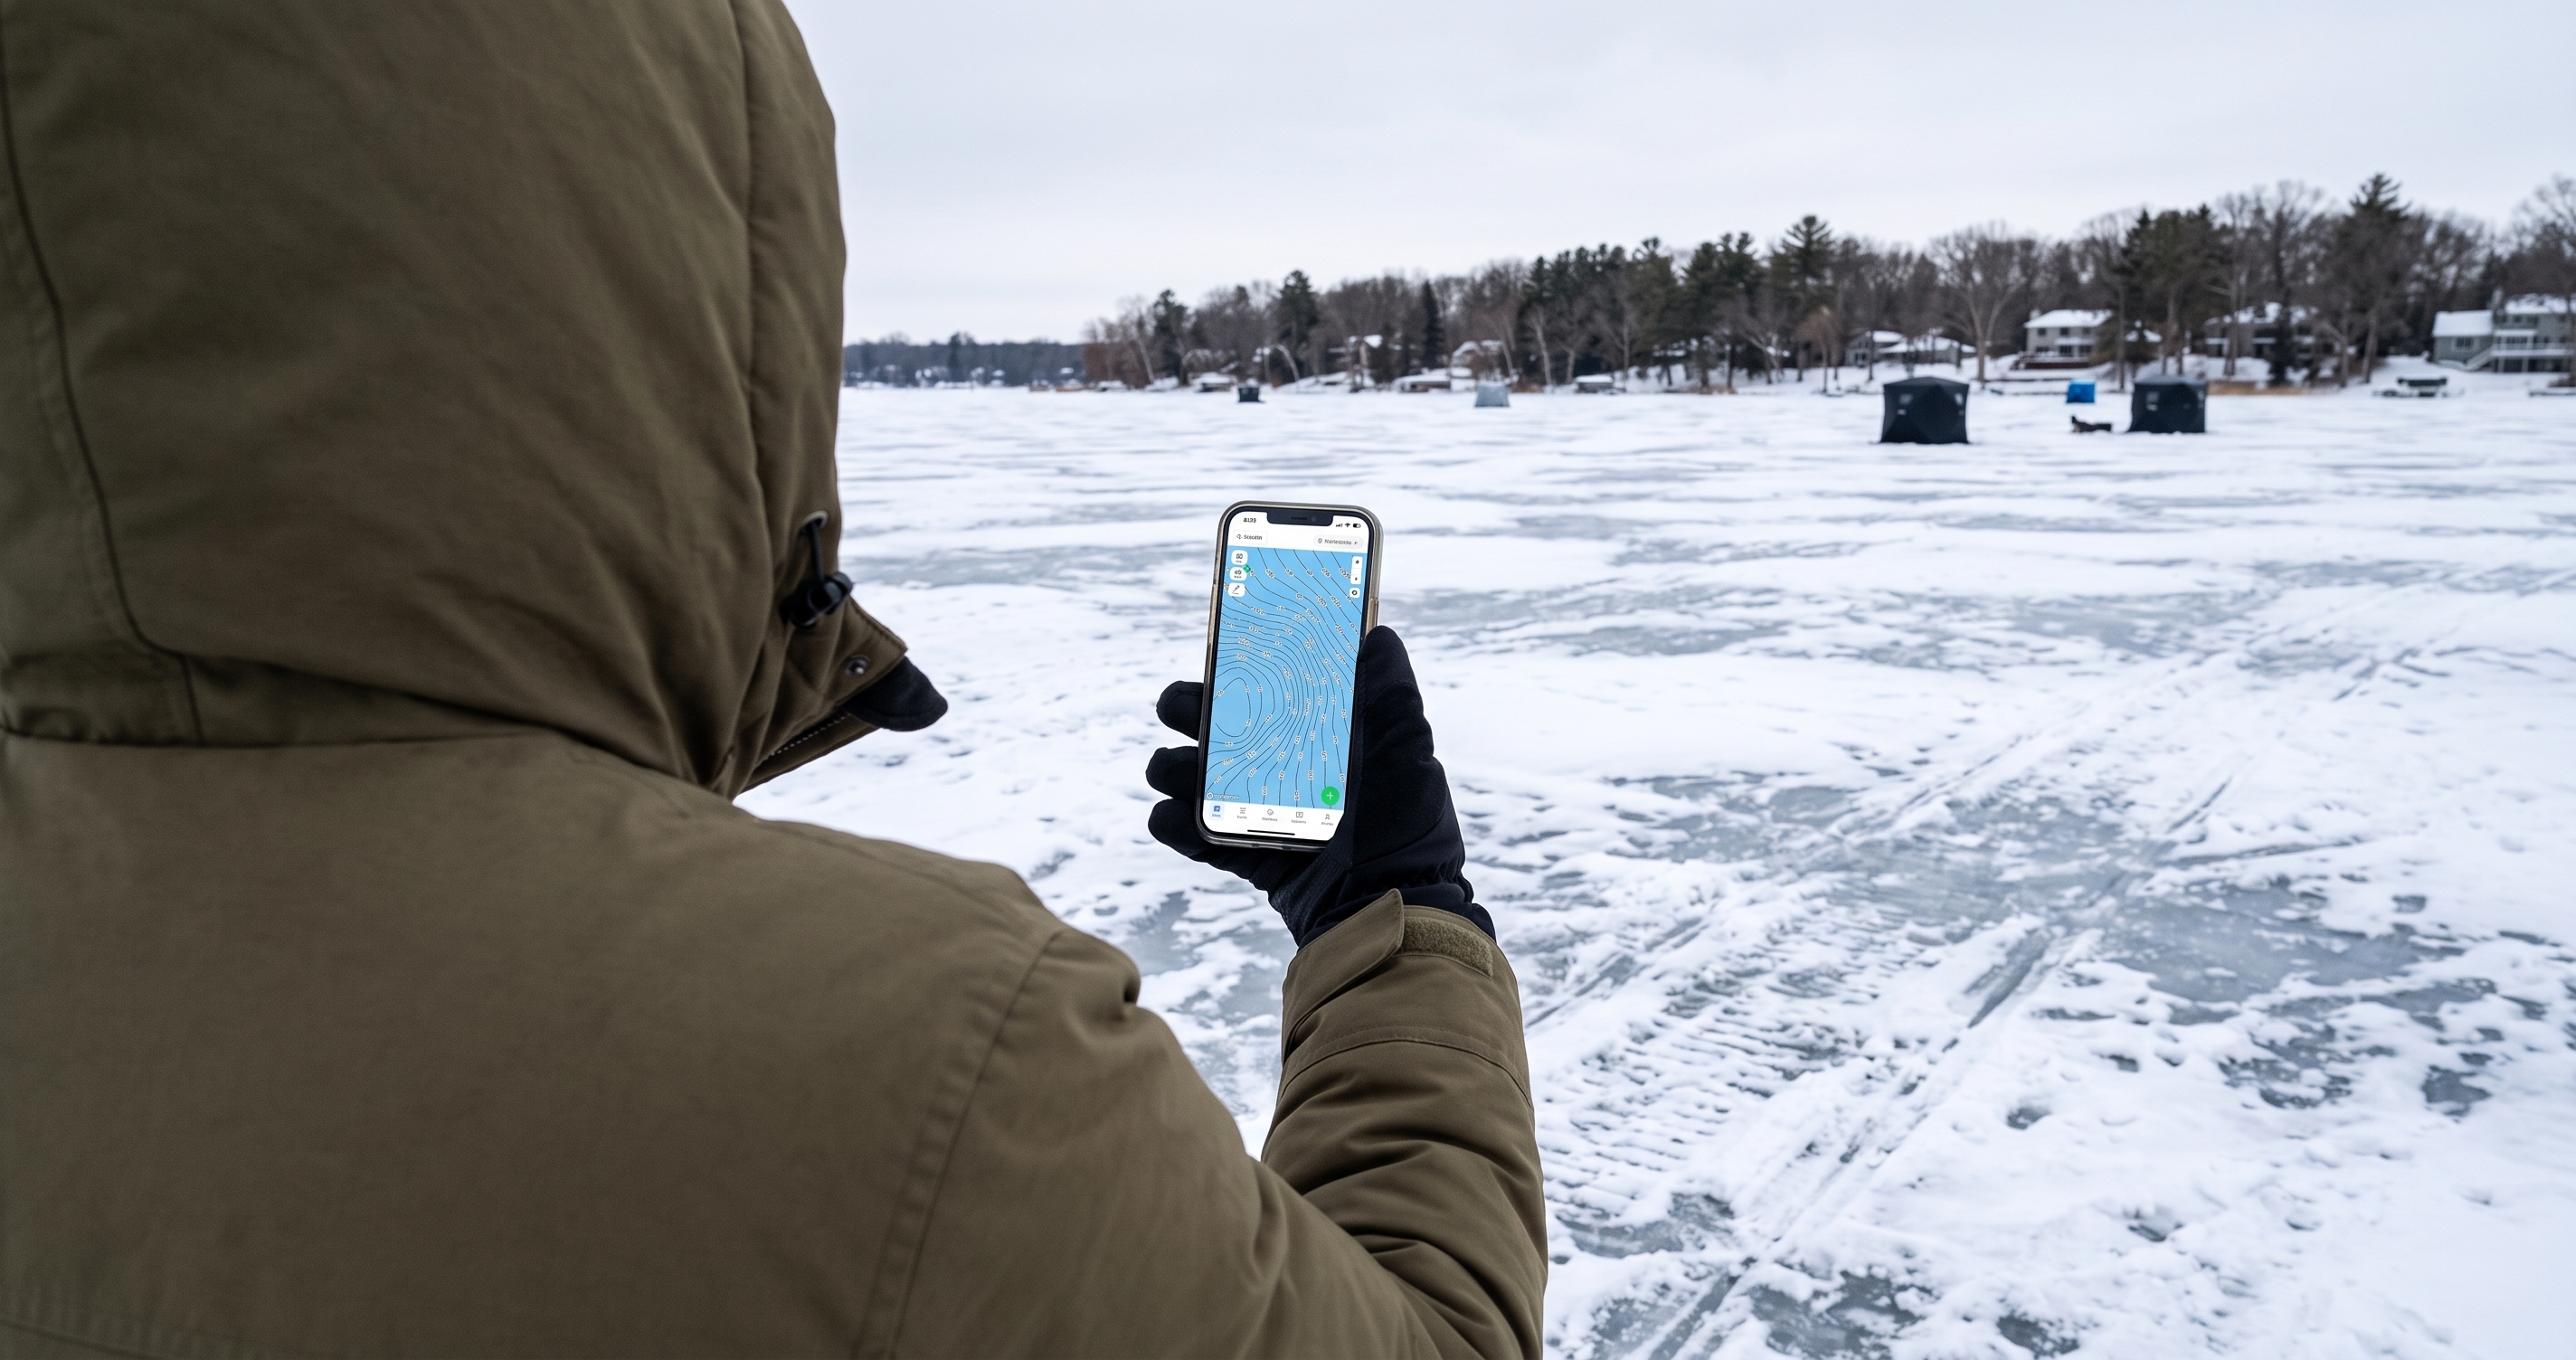
In a boat, a bad spot costs you a few minutes of idling. On the ice, it costs you a hole, then another, then a sore back and a cold morning. Every hole you drill in the wrong place is time not spent fishing.
The fix is to do your scouting at the kitchen table. A good lake depth map shows you the breaks, humps, points, and basins under the ice before you fire up the auger. This guide walks through how to turn that map into a drilling plan: what to look for, where each species sits as the ice season goes on, and the hole patterns that find fish fastest.
Jump to:
Pull up 1-ft contours for your lake and plan your holes before you leave the house.
Open Any Lake FreeFirst: Check the Ice, Not Just the Map
A map tells you what's under the ice. It can't tell you whether the ice will hold you. The Minnesota DNR recommends staying off until there are at least 4 inches of new, clear ice for walking, and doubling that for white or snow-covered ice. Ice changes across a single lake, especially near inlets, current, and pressure ridges, so check thickness as you walk out. Our Minnesota ice thickness chart has the full DNR guideline table for sleds, ATVs, and vehicles.
Step 1: Pick the Structure for Your Species and Season
Where fish sit under the ice depends on two things: what you're after, and where you are in the season. Weeds that hold fish in December are dying by February, and oxygen and food shift with them. Start here, then go find that structure on your map.
| Species | First ice | Midwinter | Late ice |
|---|---|---|---|
| Walleye | Shallow bays and the first break next to deep water, 8 to 15 ft | Main-lake humps, points, and rock-to-mud transitions; fish the edges at dawn and dusk | Season closed on inland waters (closes late February); border waters like Lake of the Woods run later |
| Crappie | Outside edge of green weeds, 6 to 12 ft | Suspended over soft-bottom basins, especially near steep walls and inside turns | Shallow bays and weed edges |
| Yellow perch | Weed edges and sand-to-weed transitions | Mud flats and basin edges near rock or weed structure | Shallow flats near spawning areas |
| Bluegill | Green weeds in 6 to 12 ft | Deeper weed edges and basin edges | Shallow weeds as they green up |
| Northern pike | Shallow weedy bays with tip-ups | Weedlines and the first break | Season closed on inland waters (closes late February) |
Walleye, sauger, and northern pike seasons close in late February on Minnesota inland waters, so late ice is panfish season on most lakes. Check each lake's regs before you go.
For species-specific detail, see our guides to first-ice walleye, ice fishing for crappie, and Minnesota perch ice fishing.
Step 2: Find That Structure on a Lake Depth Map
Open your lake and look for these features. Each one concentrates fish in a smaller area than the lake around it, which is exactly what you want when every spot costs a hole.
- The first break: where the shallow flat drops into deeper water. Contour lines bunch together right at the edge. This is the classic first-ice spot for walleye and pike.
- Inside turns: where the contour lines curve back toward shore. Fish moving along a break pile up in the bend.
- Points: contour lines bulging out from shore. Fish move up and down the point by depth through the day, so the tip, where the lines pinch together, is the key area.
- Humps and spot-on-spot: closed rings of contour lines that don't touch shore. A rock pile or weed patch on top of a hump (spot-on-spot) is often the single best location on it.
- Basin edges and walls: the steepest drop into the deepest soft-bottom area. Midwinter crappie and perch use these.
- Flats: wide spacing between lines. Big flats are where perch and walleye roam to feed, so you cover them with more holes.
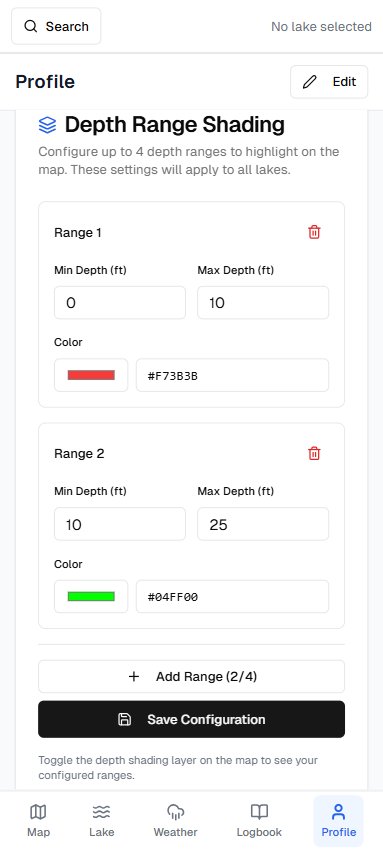
This is where map resolution matters. A 1-foot contour map shows a 2-foot hump or a small inside turn that disappears entirely on a 5- or 10-foot map. In Fish Guide Pro, use depth shading to color just the depth band you're targeting, say 18 to 26 feet for midwinter walleye, and the structure in that range stands out at a glance. Not sure where to start on a new lake? Species Hotspots ranks spots on the lake by species and season, including winter patterns.
New to reading the lines? Our guide on how to read depth contour maps for fishing covers the basics.
Step 3: Choose a Drill Pattern
The most useful rule for drilling: space holes by depth change, not by distance. You're trying to find the depth fish are using today, so each hole should test a new depth. On a steep break, that means holes just a few yards apart. On a flat, it means spreading out.
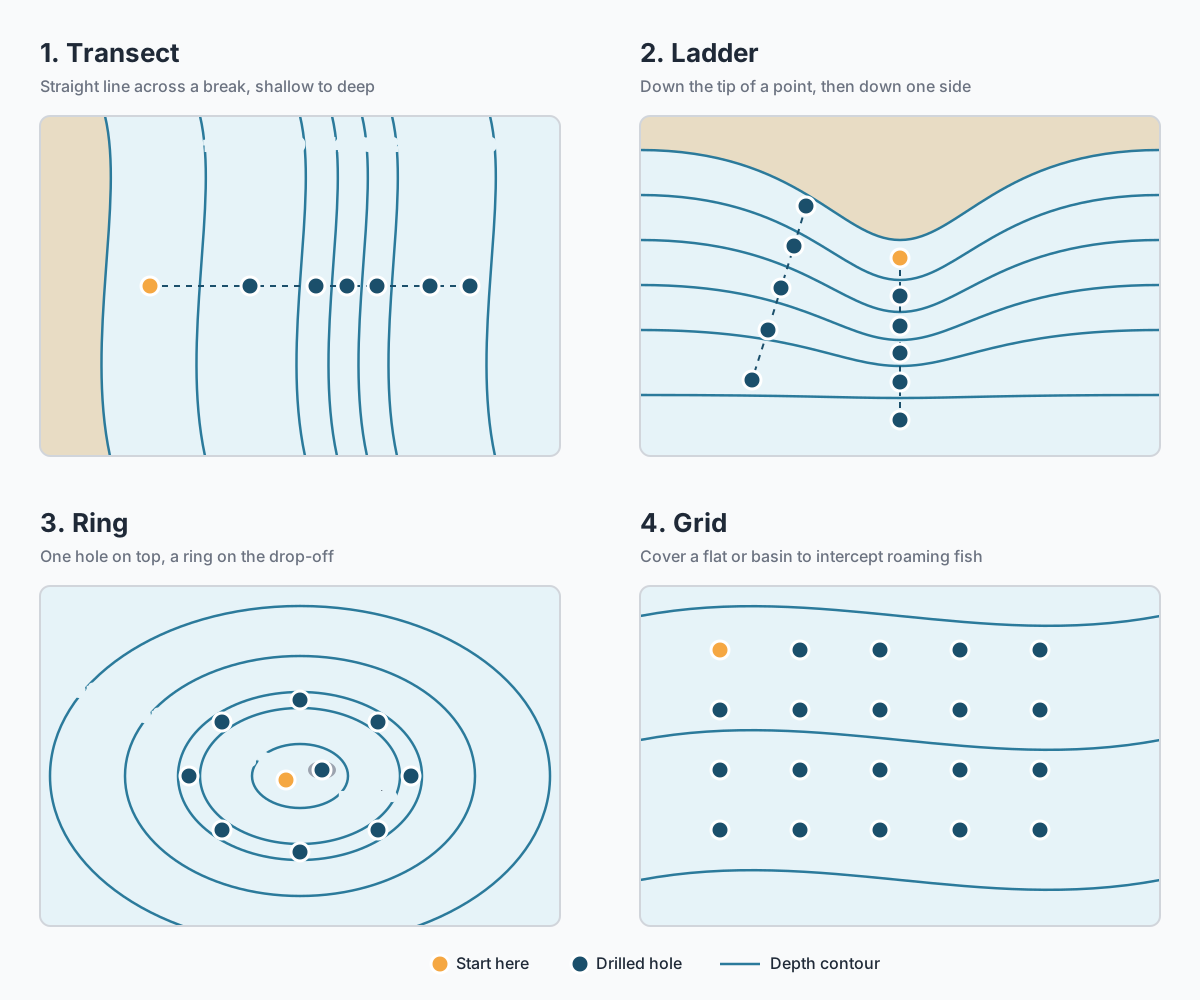
1. The transect (across a break). Drill a straight line from the shallow flat, across the break, and into deep water, roughly one hole every 2 to 3 feet of depth change. Fish each hole for a few minutes. When you get bit or mark fish, you've found the depth. Now drill more holes along the break at that same depth.
2. The ladder (up a point). Drill holes down the tip of a point from shallow to deep, then a second line down one side. Points are where fish move up and down through the day, so the ladder shows you where they are right now.
3. The ring (around a hump). Drill one hole on top, then a ring around the edge where the hump drops off, at the depth of the break. Add holes on any spot-on-spot feature. Fish often hold on one side of a hump, usually the side with the steepest drop or the best food.
4. The grid (on a flat or basin). For roaming fish like perch and midwinter crappie, drill a loose grid or a long line across the flat. The goal is to intercept a moving school, so cover ground, then tighten up once you find fish.
Drill them all at once. Punch your whole pattern before you start fishing, then check each hole with your flasher. Drilling over fish you've already found is a good way to push them off.
Step 4: Confirm on the Ice
The map gets you close. Your flasher confirms it.
- Check the depth at every hole. If your flasher reads 22 feet where you expected the 16-foot break, you're off the edge. Move toward the shallow side and drill again.
- Remember GPS has a margin. Phone GPS is typically accurate to within about 16 feet under open sky. That's close enough to put you on a break, but on a small spot-on-spot, drill two or three holes around your waypoint.
- Trust what you see over what you expected. Water levels, snow load on the ice, and survey age all shift what the map says by a foot or two. If the bottom matches the shape of the map but not the exact depth, the structure is still right.
- Use both lines. Minnesota allows two lines per angler while ice fishing (one on designated stream trout lakes). A deadstick or tip-up on one hole while you jig another doubles the water you're testing.
Step 5: Save What Works
The best spot you found today is worth more next winter than any tip you'll read. When a hole produces, drop a waypoint on it with the depth and a note: species, time of day, what you used. Over a few seasons that turns into a personal map of where fish actually sit on your lakes, at each stage of the ice.
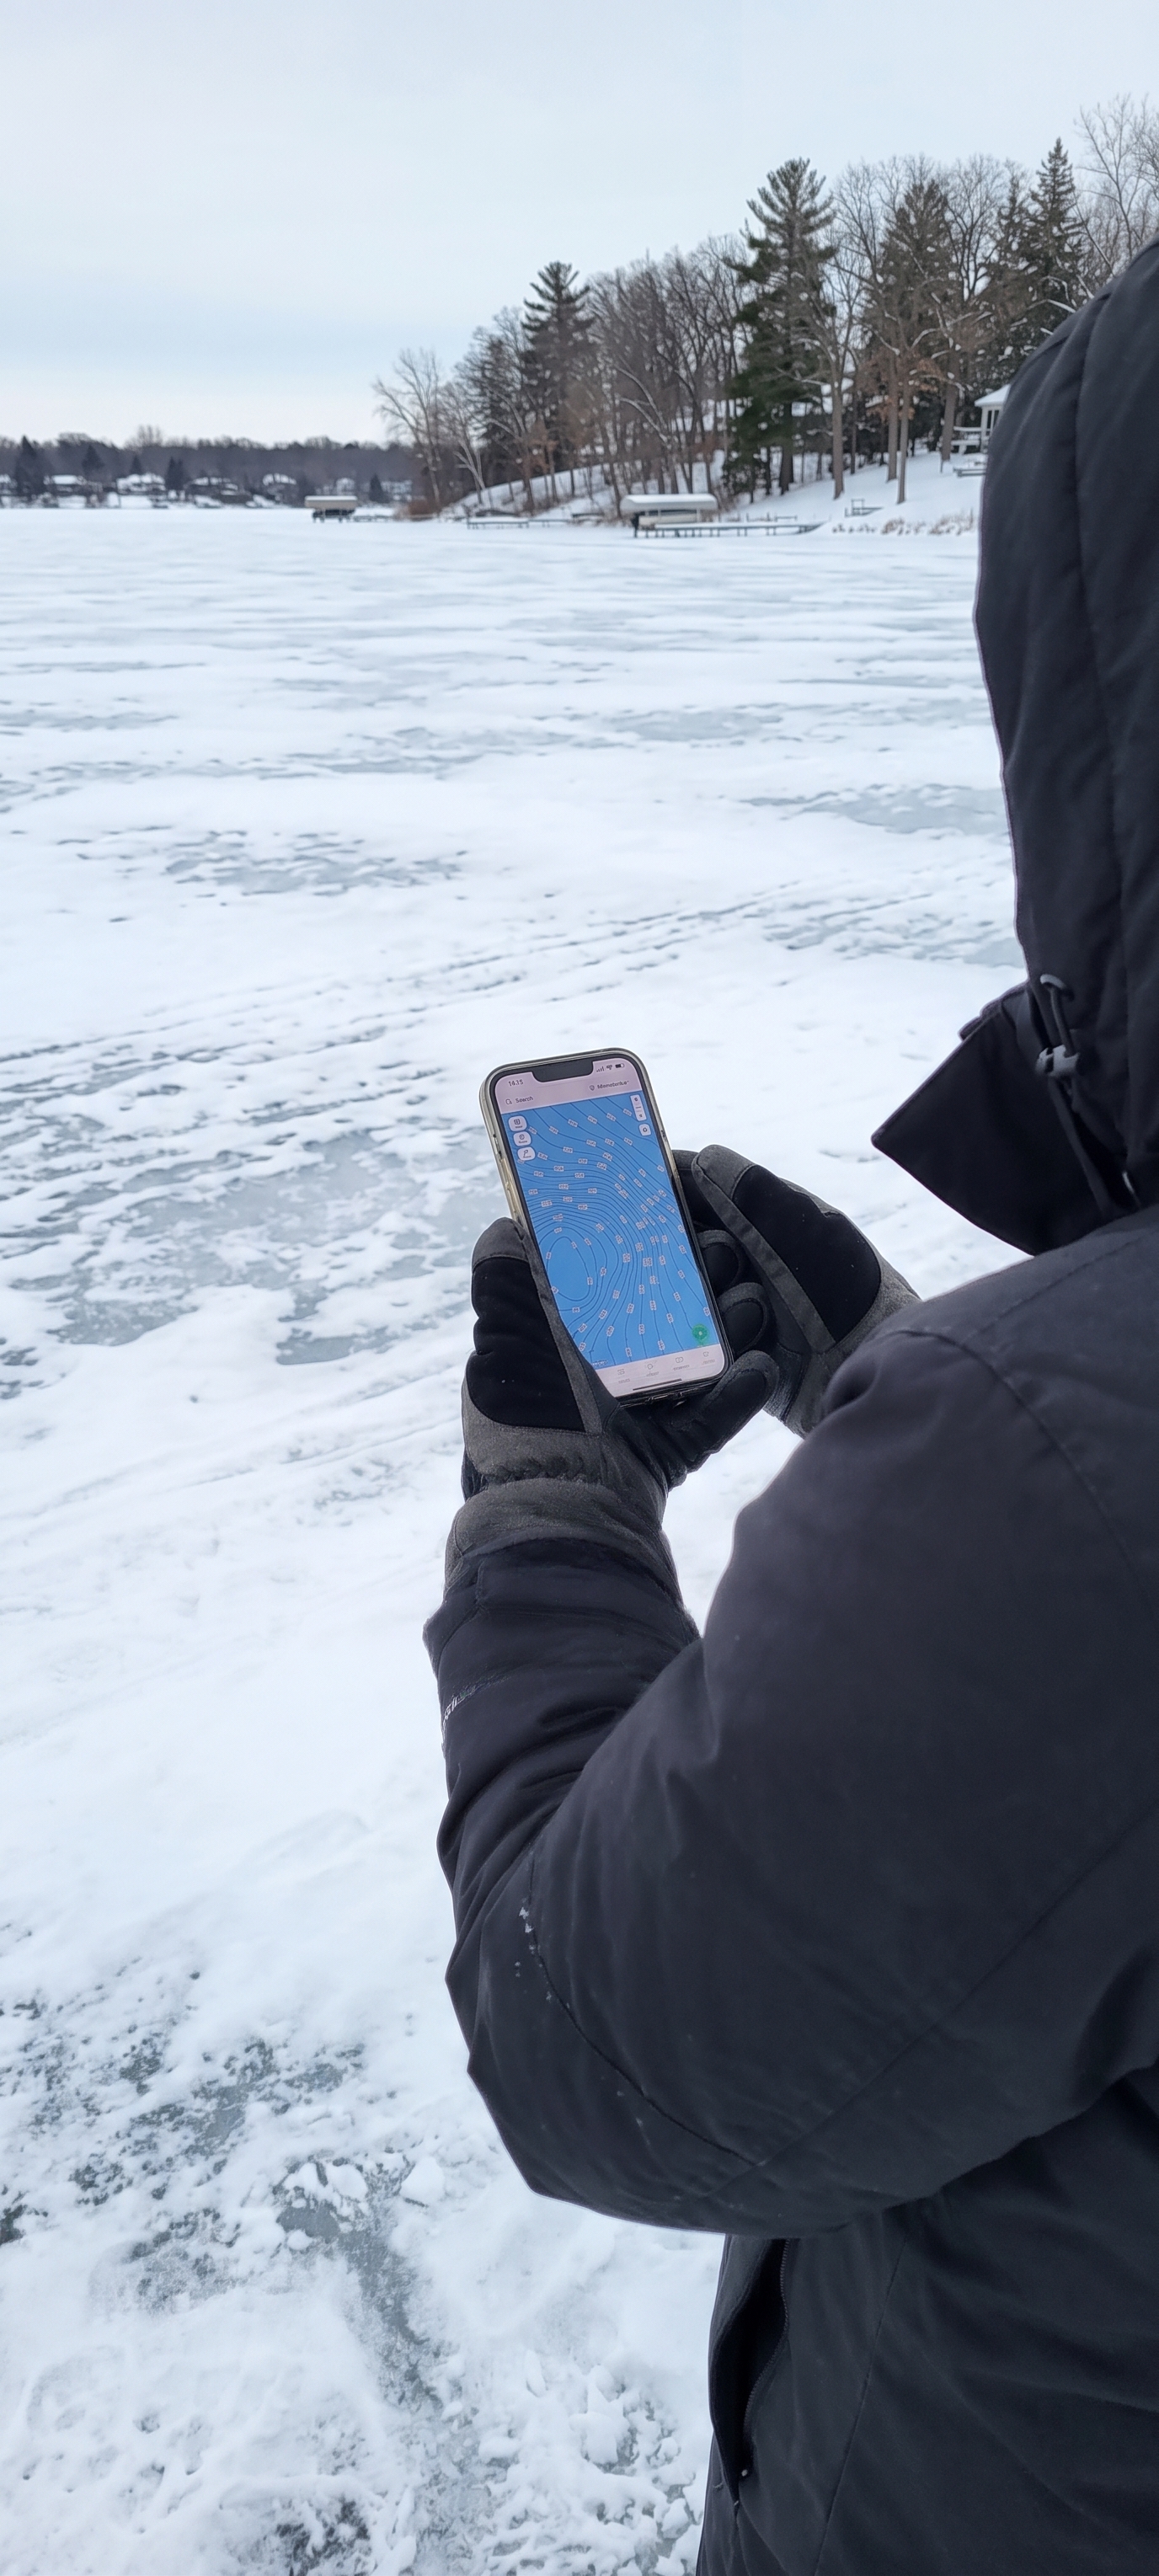
Waypoints you marked in open water work on the ice too. That summer weed edge or hump is in the same place in January.
If you're heading somewhere with weak cell signal, download the lake for offline use before you leave so your contours and waypoints still work far from shore.
Common Mistakes When Choosing Where to Drill
Drilling where the crowd is. A cluster of permanent houses marks a spot that was good, and that's been fished hard since. Use the map to find the same type of structure somewhere quieter on the lake.
Fishing the first-ice spot all winter. The weed edge that was great in December often goes quiet by midwinter. When it does, follow the season deeper.
Spacing holes evenly by distance. On a steep break, ten yards can cover ten feet of depth. Space by depth change instead.
Sitting on a dead hole. On a roaming species, give a hole 10 to 15 minutes. If nothing shows on the flasher, move. Use the pattern you already drilled.
Ignoring the clock. Walleye bite best at dawn and dusk. Perch tend to bite better in daylight. Time your best holes for the right part of the day.
Where to Drill: Ice Fishing FAQ
Where should I drill my first hole when ice fishing? On the structure that fits your species and the stage of the ice season. For most species at first ice, that's the first break or the outside weed edge near deep water. In midwinter, move toward humps, points, and basin edges.
How far apart should ice fishing holes be? Space them by depth change, not distance. A good starting rule is one hole every 2 to 3 feet of depth change across a break. On a flat, spread them wider to cover more ground.
Can I use a contour map on my phone for ice fishing? Yes. A phone contour map with GPS puts you on the right structure. Phone GPS is typically accurate to about 16 feet under open sky, so drill a few holes around your mark on small spots. Download the lake for offline use if signal is weak.
What is the best depth for ice fishing in Minnesota? It depends on the species and the time of winter. First ice is usually shallower (6 to 15 feet for most species). By midwinter, many fish move to deeper structure and basins, often 18 to 32 feet on deeper lakes.
How many holes should I drill? Enough to cover the depth range of the structure you're fishing. A transect across a break might be 5 to 8 holes. A grid on a perch flat might be 15 or more.
Every moment on the ice is too short to spend drilling in the wrong place. Try Fish Guide Pro free and plan your holes on 1-ft contours before you leave the driveway.